
Prep Time:
5 minutes
Total Time:
5 minutes
Yield:
1 cup
Cook Time:
0 minutes
Vanilla extract is an ingredient in many of our baked goods. This common addition actually carries big weight—1 teaspoon completely transforms a good dessert into a great dessert. You can’t make a few staples like vanilla cake, vanilla cupcakes, or vanilla buttercream without it.
A dear reader named Jill emailed me last year and said that once she began making her own vanilla extract, her baked goods tasted even better than before. She told me the secrets are to use extra vanilla beans and let the extract sit for at least 6 months before using.
I never thought to publish a post about homemade vanilla extract because it’s actually pretty simple. But Jill’s words were enough to convince me that all bakers should know that a cheaper AND better tasting vanilla extract is only 2 ingredients away.
Why Make Homemade Vanilla Extract?
Why make vanilla extract when you can just buy it from the store? Good question. With the price of vanilla constantly fluctuating, it’s very cost efficient to make your own. Plus, you can control the strength of its flavor. This is KEY because many pricey store-bought options lack the essential depth of flavor that makes good vanilla… good vanilla. This is either because the vanilla extract is imitation and made with artificial or synthetic ingredients or brands cut back on the amount of real vanilla in each bottle. You’re not paying for good vanilla, you’re paying for the convenience of weak bottled vanilla.
(By the way, last year I was part of a blind taste test of different store-bought pure vanillas and McCormick won by a landslide. It was the group’s top choice in both flavor and aroma.)
If you open a bottle of some store-bought vanilla extracts and a bottle of homemade vanilla, you will immediately smell the difference. And this difference directly transfers into your homemade baked goods.
Description
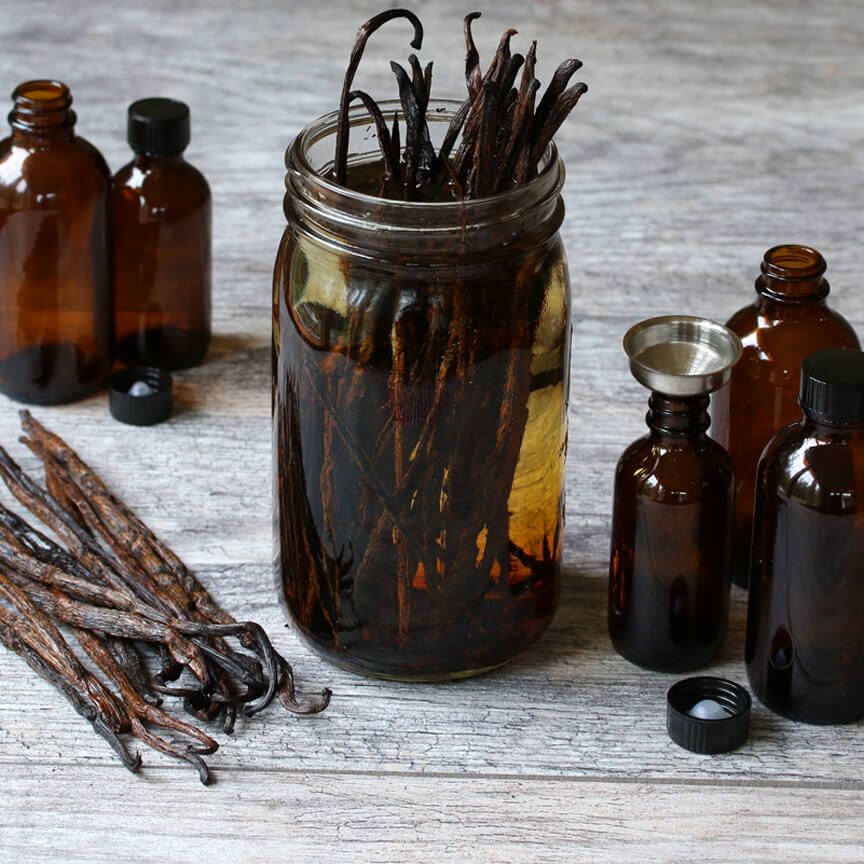
Let the vanilla beans infuse the vodka for as little as 8 weeks, but for optimal flavor, wait at least 6-12 months before using.
Ingredients
Instructions
Notes
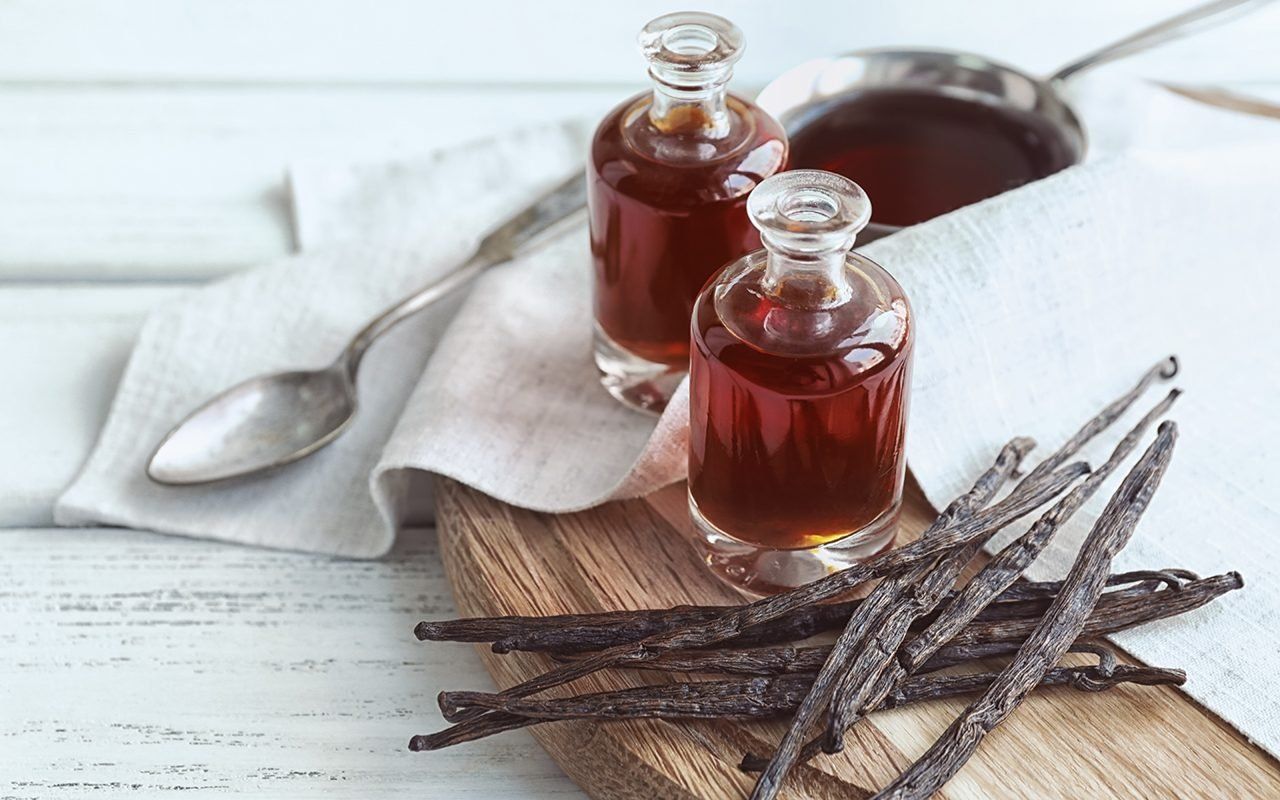
Seeds: Since the vanilla beans are exposed (slit open), there will be vanilla bean seeds in the bottle and therefore in your baked good. They add even more wonderful flavor!
Use the same amount of homemade vanilla extract as you would store-bought in recipes.
Gifting: I usually remove the beans if I’m gifting the bottle, that way the gift recipient isn’t responsible for refilling with more alcohol and the beans don’t go to waste. (You can reuse the beans for a new bottle.) However, if it’s been less than 6 months, I recommend gifting with the beans in the bottle because there’s still lots of flavor in there! Tell the gift recipient to remove the beans once he/she begins using the vanilla.
Alcohol: If baking gluten free, use certified gluten free alcohol. Avoid flavored vodkas as they often contain artificial flavors, which negates the purpose of making your own pure vanilla.
Sterilizing: Sterilizing the bottles is ideal, though we’ve skipped that step with no problem in the outcome of the vanilla. If your bottles or jars don’t have any plastic pieces attached, we recommend sterilizing them before using.
Enjoy your homemade vanilla extract!
